PDF Generator action after submit is used for converting a form to PDF. Afterward you can send the pdf file to recipient emails. To use PDF Generator, please perform following steps:
Step 1: Create a form to collect necessary information.
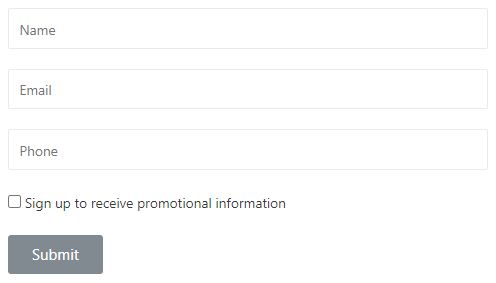
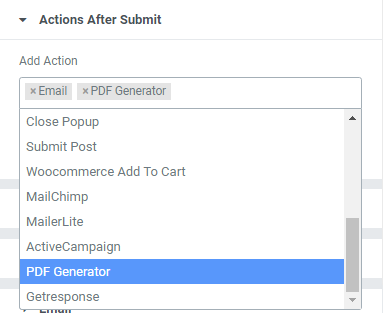
Step 2: Edit the Submit button, select Actions After Submit -> Add Action -> PDF Generator.
Step 3: In PDF Generator Section, select Custom Layout Yes or No.
- If Custom Layout is No: Fields on the form will be automatically mapped into the PDF file in the order, and you can edit some of the following information:
- Title: You can add title, edit display position, text size, font color of the title.
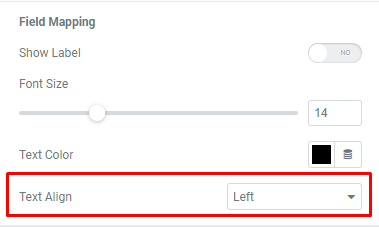
- Field Mapping: Edit and format form fields that are mapped into PDF files.
– Show label:
– If Yes: Show additional labels corresponding to the fields in the PDF file.

– If No: The corresponding labels will not be displayed in the filed PDF.

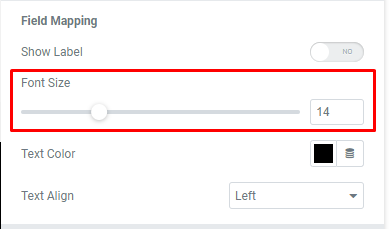
– Front Size: Format the text size of Field Mapping.
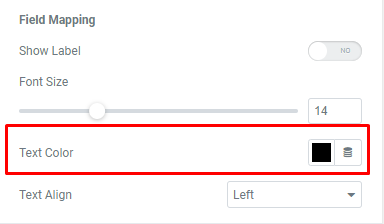
– Text Color: The text color of Field Mapping.
– Text Align: Format the position of the text in the PDF file.
- Custom layout is Yes: Fields in the form will not automatically mapped to the PDF file, we need to map and positioning the fields. Click ADD ITEM to add fields mapping.
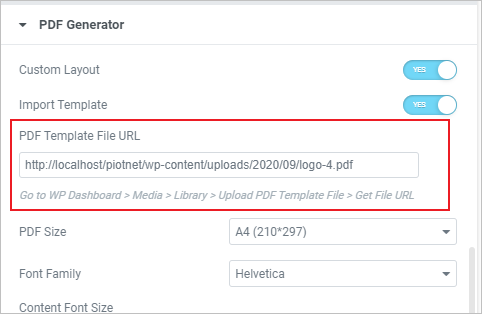
- Import template: You can select the file template to insert.

- Get Template URL: You need to visit: WP Dashboard> Media> Library> Upload PDF Template File> Get File URL
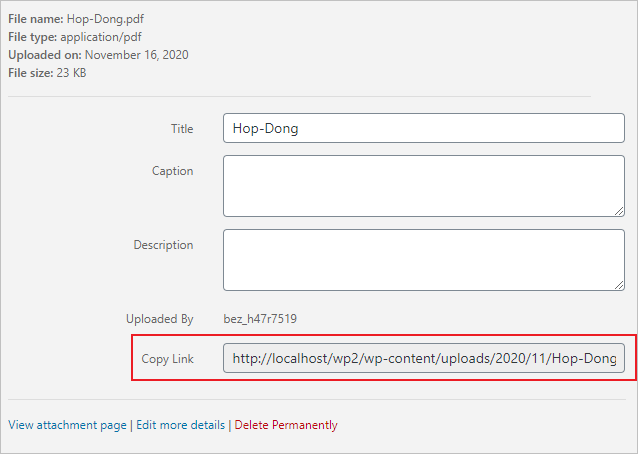
- PDF Template File URL: Paste the URL template into the PDF Template File URL
- Load PDF Template: Click Load PDF template to display the template.
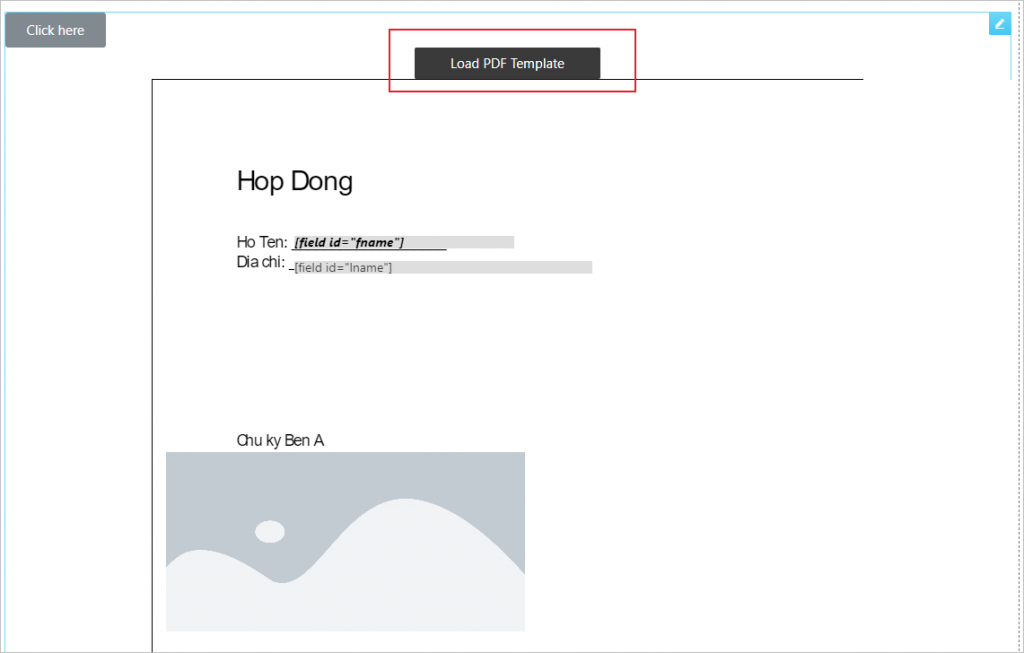
Example:
– Field name
- Copy and paste shortcode of field name to Field Shortcode
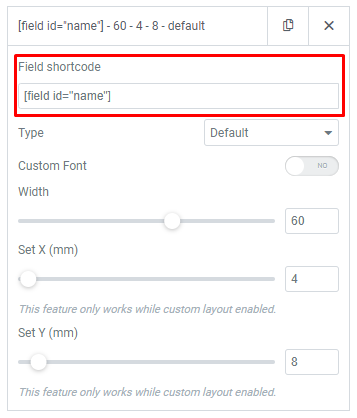
– Type:
– Default: the field format displayed in the PDF file is text.
– Image: field displayed in the PDF file will be an image (You need to specify the field format before choosing the type).
– Image upload will allow you to upload an image file into a PDF .
– Custom Font: Used to edit the font for field mapping.
– Width: Adjust the width size of the field mapping
– Set X: Adjust the position of the field map horizontally.
– Set Y: Adjust the position of the field map vertically.
- Image Background: Applying if you want to leave a background image for the PDF file.
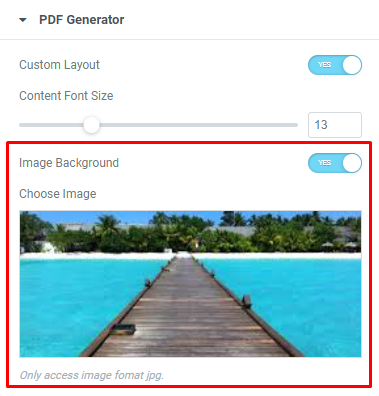
- Check the position displayed in the preview under the submit button.

- After the editing is done, click Update and check the active form.

How to use special characters/other fonts in PDF:
In order to use normally your local language characters, please add a PDF font that is appropriate to your language.
Download your font here
Then go to dashboard > Piotnet Addon for Elementor> Custom font > add new > upload/add font.
Notice: just apply for TPF File.
*Current Limitations
At the moment, the PDF Generator can perform basic manipulations when enabling the Custom Layout function. When using the PDF Generator Custom Layout function, you may meet some unexpected cases if you do not follow our list below:
1. PDF works fine with 1 page and A4 size when mapping fields (Custom Layout)
2. This function currently works with versions under 1.6. Maybe your PDF Template File is not appropriate to the version of Piotnet. You may check your version here and convert the PDF file to our required version by using this one
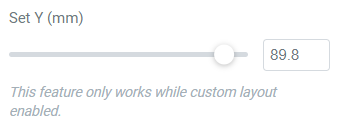
3. The maximum of Y-ASIS (Set position Y) is 89.8 mm. If not, the field will be mapped to the next page.
Notice: when you have a long-form and do not need to customize the position’s fields, All fields will be automatically ordered and broken.
In addition, PDF Generator is not available to display from right to left. (Right-to-left script)